

Would you like to pursue a career in programming, but are struggling to find an entry point to open source? Do you want to impress your dream university by showing you engagement in engineering projects? Are you looking for a tool to create your CAS portfolio or simply want to have an interesting CAS experience?
You can achieve all those goals and far more with the Resource Center!
Heritage and bright future
The Resource Center was created by my former computer science teacher, Mr. Bartłomiej Przybylski, to enhance communication with his students. It was after he had left our school that it was greatly extended and became what it is. Today, the Resource Center is a website dedicated to computer science, but is specifically tailored to the IBDP CS course. Here, you can find a decent overview of this course, including: grade boundaries, resources, the description of each assessment component, and the latest news.
However, the more exciting part is that the Resource Center was not created from scratch with HTML, CSS, and JavaScript (technologies “real” programmers use), but with the help of a static site generator – Hugo – that let you easily generate and customize web content according to your wishes without much programming knowledge.
In this article, I’d like to discuss the structure of the Resource Center and explain how you can contribute to the project!
Prerequisites
The article assumes you have knowledge on the basics of git, GitHub, and Visual Code Studio. If you are not familiar with these tools, do not worry! I have prepared a supplementary article on my blog, here. Even if these are not required for the base IB curriculum, they are all worth knowing as they can be very helpful for your Computer Science IA as well as studying for the practical part of the course.
However, even if you do not have time to learn additional stuff now, you can still follow this article and learn what is needed later. Either way, let us get started!
Structure of the Resource Center
To find the main folders/files of the RC, accomplish the following steps:
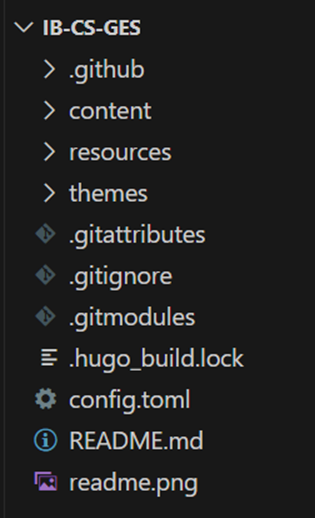
- Open VSCode before opening the Resource Center project. To do that, you can either click “File” in the upper left corner and choose the “Open Folder…” option or hold the Ctrl key and click K and O keys: Ctrl + K Ctrl + O. In either case, you need to find the folder where you cloned your repository. Now I can explain what each of the folders/files on the left pop-up menu means.
Non-essential files
You do not have to touch any of the following folders/files: .github, resources, .gitattributes, .gitignore, .gitmodules, .hugo_build.loc:. They are required by git or hugo for configuration. Here is an individual breakdown for each:
- .github: This is the GitHub configuration directory. Inside, there is the workflow folder that creates automated workflows such that changes to files of the project are transformed into pure HTML, CSS, JavaScript etc.
- .gitattributes: This gives attribute to pathnames.
- .gitignore: This is a list of files that are untracked/unaffected by git.
- .gitmodules: This is a list of submodules. In our case, the submodule is a theme (more about this later).
- .hugo_build.lock: This is a temporary file for Hugo.
- resources: It caches some files. You can read more about it in the documentation.
Essential files
README
README is a description of a project on GitHub. Here, you can find general information such as: what the project is about, who are the authors/maintainers, how the project functions, how to contribute and so on. All big open source projects have their own README file, including, but not limited to OBS Studio and Twitter. The Resource Center is no different.
README files are usually written using Markdown. Markdown is a markup language for formatting text – for instance, to bold a word you need a special syntax. Markdown is essential for the Resource Center because all pages are written with this technology. Although Markdown is of such utter importance, I want to avoid discussing it thoroughly as there are plenty of resources to learn from. I recommend this cheat sheet in particular. It gives you all you need.
(readme.png file is just a picture used in the README file.)
Themes folder
You do not need to touch this folder because it contains the files of a theme that the Resource Center is based on. This is also the magic of Hugo: you just provide the content for your website and the stylistic aspect is taken care of by someone else through a theme you add as a git submodule. There are lots of themes available on the Hugo website. Most of them are open source and free of charge.
The theme may need to be occasionally updated, more about that later. What is interesting now in the context of a theme is config.toml file that is used for configuring the theme.
config.toml
The config.toml (although it will probably be changed to hugo.toml in the future) file is used for the configuration of the theme. The specifics of what you may configure in this file is always described in the theme and Hugo documentation. In the case of the Resource Center, you can find it here and here.
Although it is useful to know how to configure the theme, you may not need to change anything unless you want to make major changes to the website. What you will be interacting with more is the content folder.
Content folder
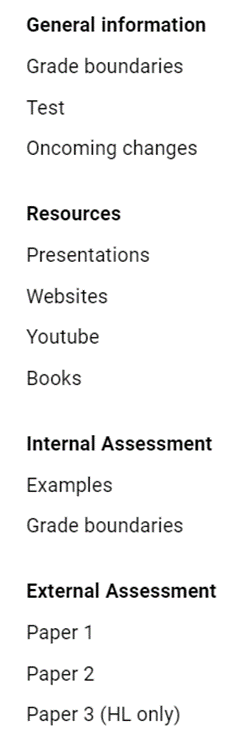
The content folder is where the content of the website is created. When you open this folder, you will currently see four subfolders and an _index.md file. These folders correspond to the four sections (this number may increase) that are now available on the website: General Info, Resources, Internal Assessment, External Assessment. I have also included a rough breakdown of what is in each subfolder.
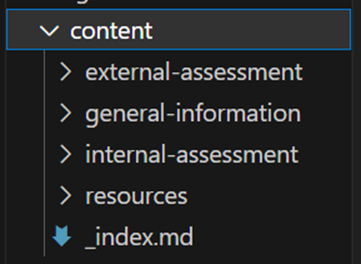
The _index.md file is responsible for the content visible on the starting page (link: https://bprzybylski.github.io/IB-CS-GeS/).

There will be many files named _index.md so I would like to discuss how these files look like. Open the first _index.md (by clicking on it) and look at its structure. You will see that it has two parts: one between dashes and with the content of the page.
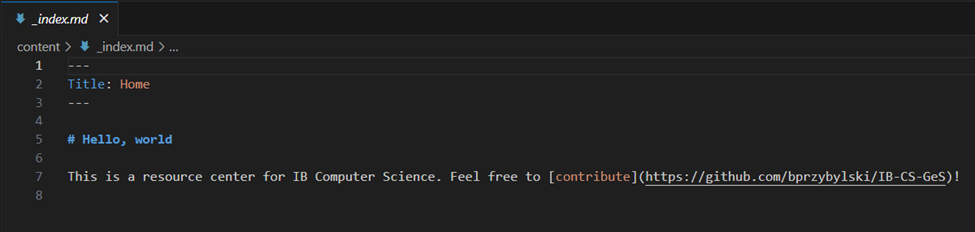
The first part is configuration – how it should be displayed, in what order etc. In this specific case, you cannot do much. However, configuration will be more important with other _index.md files. The second part is the actual content where you use Markdown syntax. For instance, in line 5, everything after “#” will be a heading. Once again, I strongly encourage you to go to the Markdown guide to learn the basics of the syntax. Having explained the structure of _index.md files, let us see what is in each subfolders.
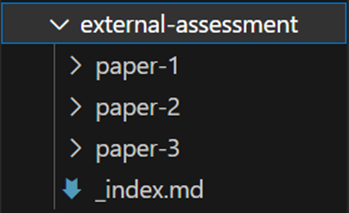
Open the external-assessment folder. You will see three folders – paper-1, paper-2, paper-3 – and another _index.md file.
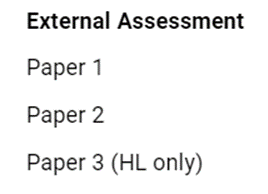
This _index.md file is responsible only for the configuration of the External Assessment section and has no content. It gives the title (the name you can see on the website) and position (External Assessment is a third section).
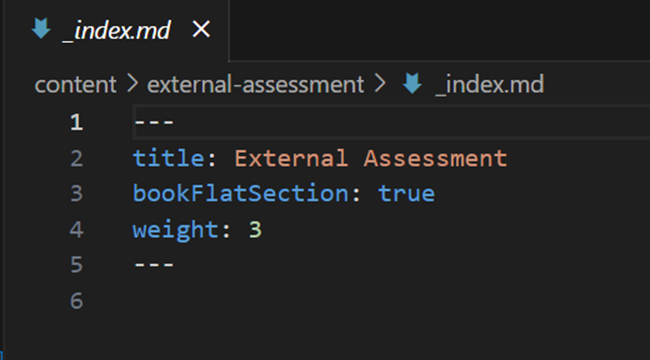
The same thing goes for the _index.md files of other sections. The three folders inside the external-assessment folder are subsections of the External Assessment section.
If you open the paper-1 folder, you will see another _index.md file and some other files. The _index.md file contains the content of this subsection and has the above-mentioned structure – configuration + content.
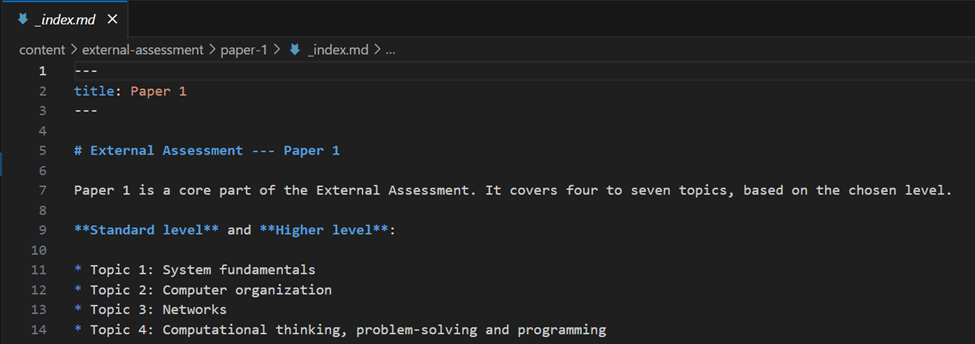
The rest of the files are “supplementary” files that you can access in the _index.md file and show on the website. Subsections in other sections have the same structure. Knowing how the project is structured, we can now proceed to making our first contribution.
Making you first contribution
To make our first contribution:
- We need to open the integrated terminal inside VSCode. There are two ways to do this – either by going to the “Terminal” tab and choosing the “New Terminal” option or by holding the combination of keys: Ctrl + Shift + `.

- When you’re done, the following windows should appear:
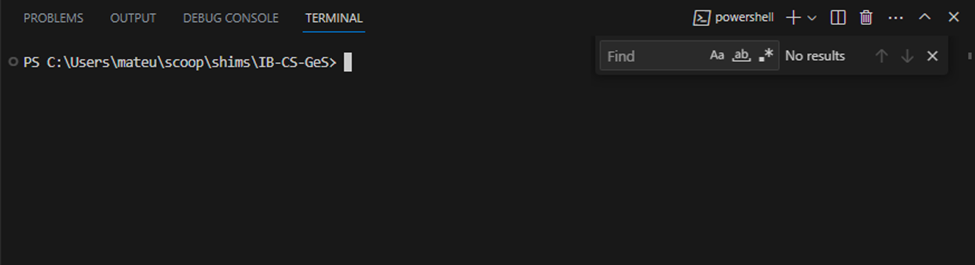
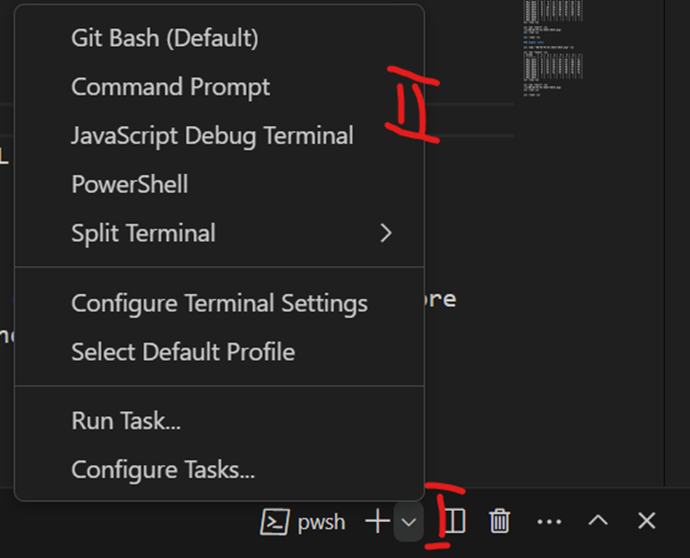
On Windows, it will either show up as PowerShell or cmd. On Mac, it will show up as Terminal. You can always change it by clicking a little arrow pointing down on the right and selecting your favorite CLI.
However, before we create our first files, let us consider the following scenario: we want to add a new subsection called “test” in general-information and provide some content using Markdown (header, link, and a sentence in bold) and shortcodes (I will describe them later).
We’ll use a “hugo new [relative_path/_index.md]” command for this (“relative_path” is a relative path from the content folder). How does it work in practice? To create Paper 1 subsection, I executed the following command:
| hugo new external-assessment/paper-1/_index.md |
external-assessment is the folder of the External Assessment section, paper-1 is the folder of Paper 1 subsection, and _index.md is the file with the content. To add a new section, I ran:
| hugo new new-section/_index.md |
- That is it! Therefore, to add a new subsection called “test” in general-information, we need to execute the following command:
| hugo new general-information/test/_index.md |

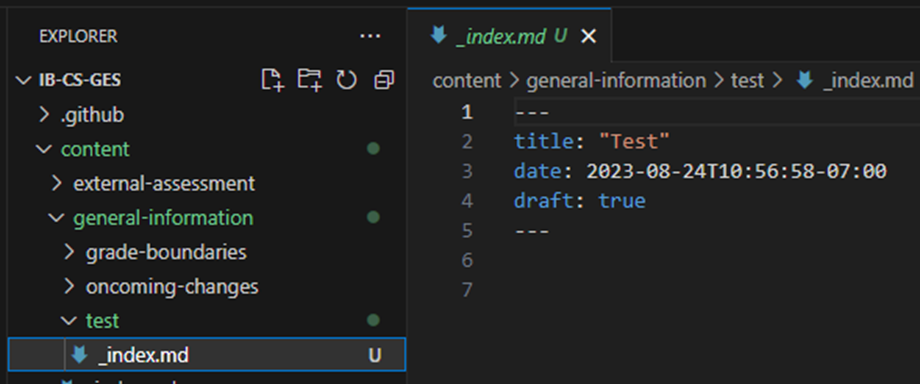
After this step, a new element should appear:
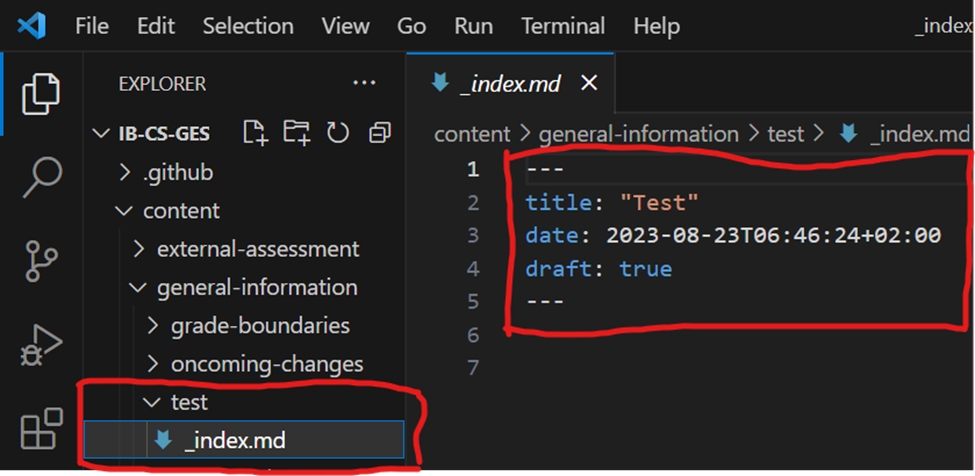
- As you can see, we now have only the configuration part in the newly-created _index.md file. The “draft: true” is a default behavior of Hugo – if you create a file, it is set to draft such that it will not appear on the website. To find this out, we can run our website locally (on our computer, not on the Internet) through the command:
| hugo server |
After this, we should get a lot of output.
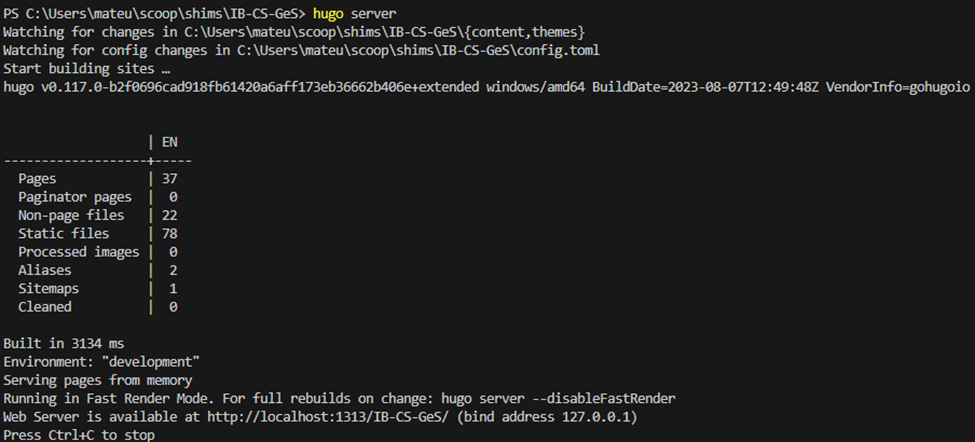
- We are interested only in the link at the bottom that should look somewhat like this: http://localhost:1313/IB-CS-GeS/ . Just copy and paste it to your favored browser.

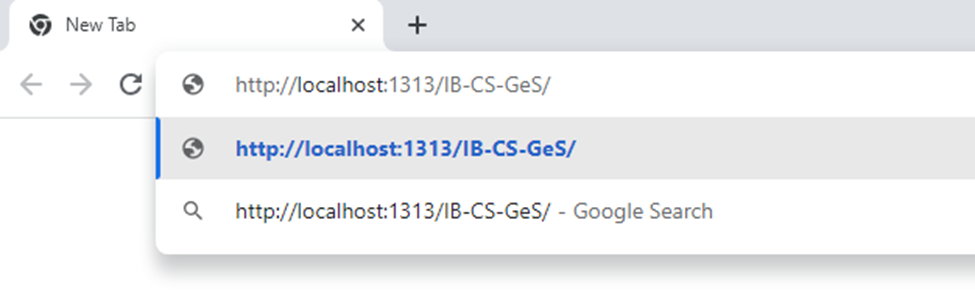
- Voila! We’ve just entered our website!
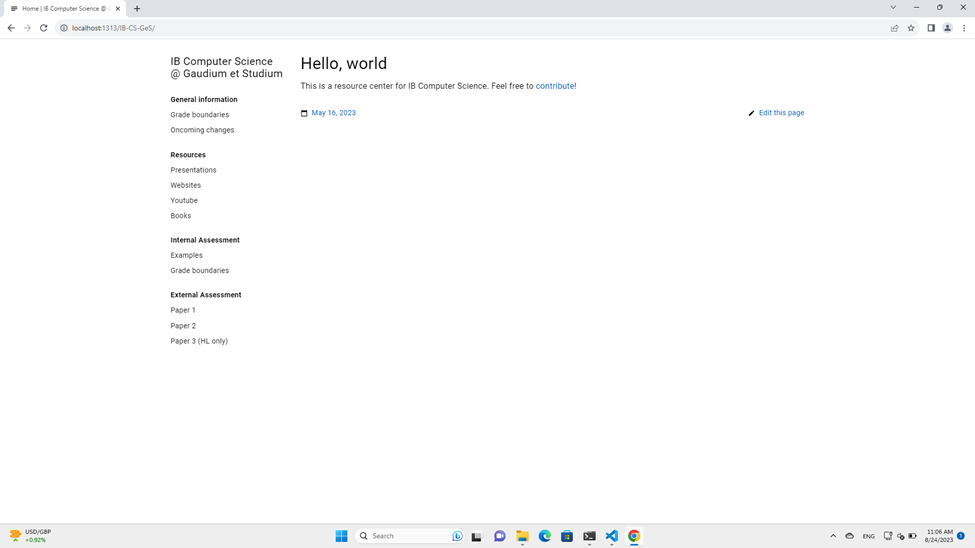
Now, if we look closely to the General Information section, we should not spot the subsection we just added (i.e. “Test”). This is because (if you recall), in its configuration, this subsection was set to draft, meaning it will not be displayed. However, I will show you how to change that.
- Go back to the VSCode and open the file.
- Changes “true” to “false” like so:
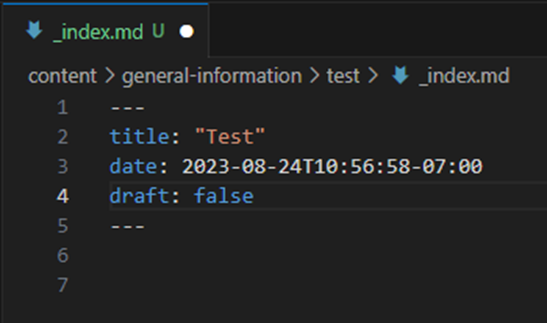
- Save changes by pressing Ctrl + S or by going to “Files” and then choosing “Save”. Reopen the browser with our website and see what is new.
Yes! As you could have guessed, our new subsection just appeared on the website!
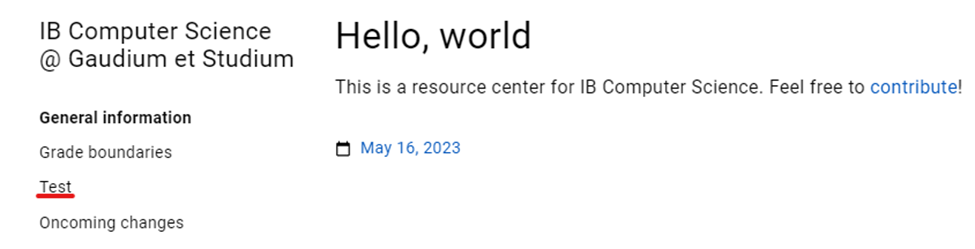
We could have obtained the same result by just deleting this setting, but I wanted you to see that the configuration part of the file actually works. Furthermore, deletion is not the recommended approach. Another way we can display all pages that are set to draft is to use the following command:
| hugo server -D |
It is a slight modification of what we did previously. Check both out by yourself!
Anyway, although we added a new subsection, it has no content and we cannot enter it as we can do with other subsections. So let us add something!
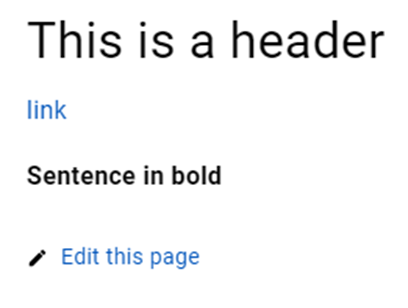
- Return to the VSCode with the file opened. We are going to add a heading using Markdown syntax. We need to add a hashtag and then “This is a header”. It should look like this:
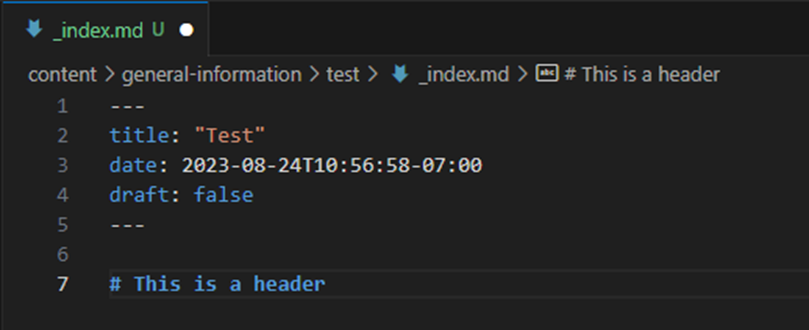
- Save it (Ctrl + S) and proceed to the browser to see our freshly-add page.
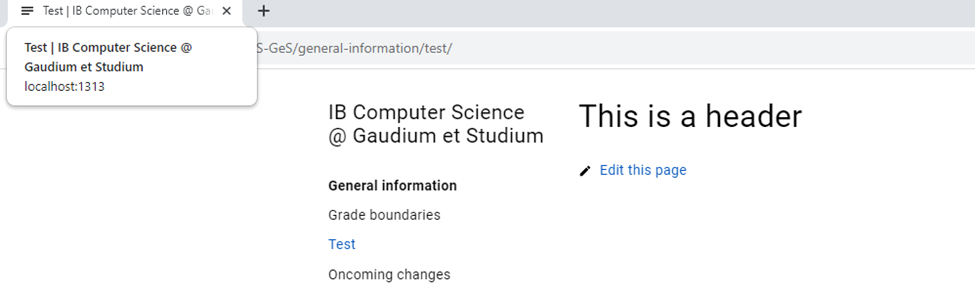
- Wonderful, isn’t it? But that is not the end. Let us go add a link and a sentence in bold. Do not worry if you just want to rewrite what I wrote. You are here to learn and it is something new to you. If you want to learn more, I once again direct you to this guide. It is excellent! (By the way, the link here is a reference to the main page of IBlieve).
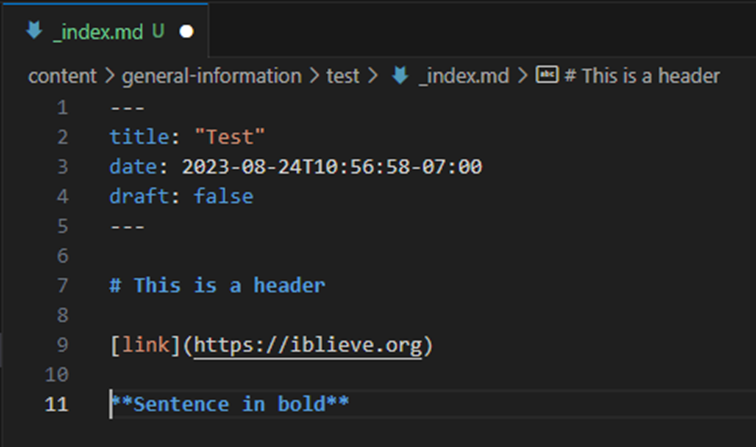
- Save the change and go to the website. Now we have even more information on our page!
- So far so good. Let us play now with shortcodes. Shortcodes are simple snippets that allow you to add fancy stuff to your website without much overhead. There are plenty of built-in shortcodes, but you can add your own as well! However, creating is much more difficult than using so it will be covered in this tutorial, but feel free to explore! In our case, we’re going to display a video from my YouTube channel titled: Around The World And Further #8. To this end, open this video in the browser and click the link in the top:
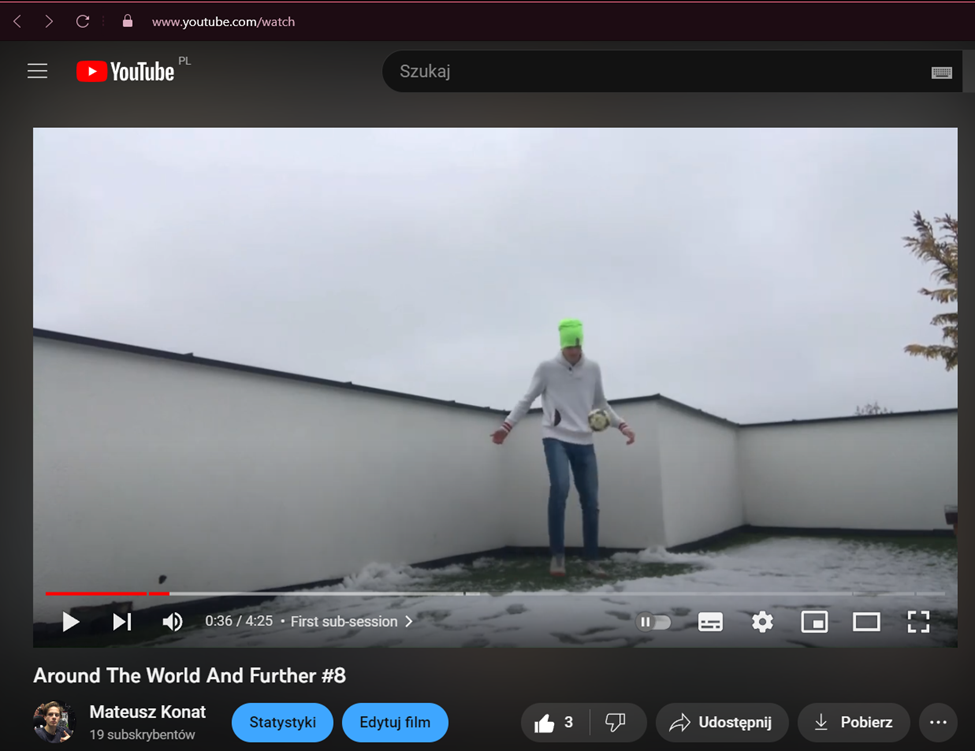
- We’re only interested in the last part of the link after the equals sign: HcZKQCeurDs. This is a video ID and that is all we need so copy only this part.

Be careful though because if you watched a part of a video on YouTube, you may encounter a link like this one:

This last part (i.e. &t=489s) is just a timing that opens a video on that particular point. We still just need the ID – the part in between the equal signs:

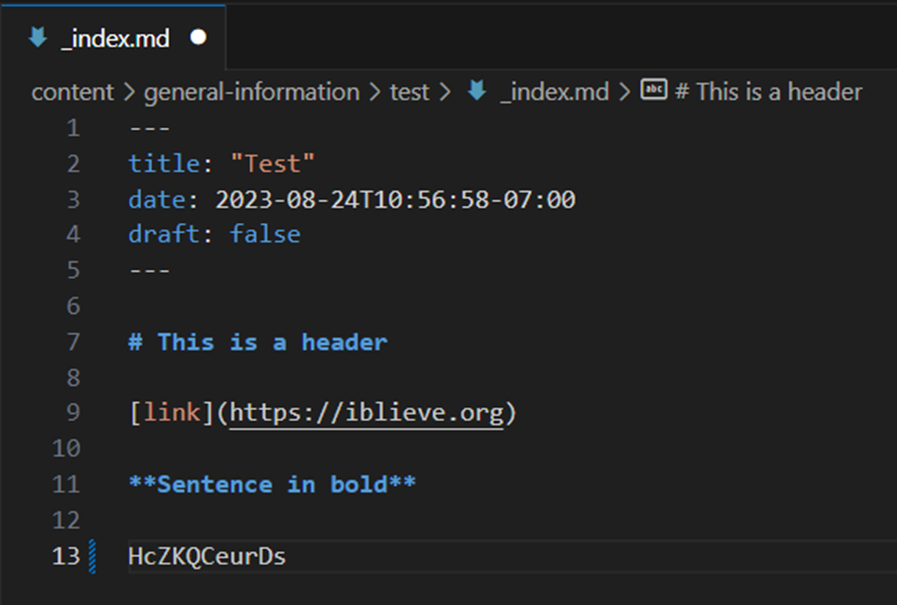
- Having said that, go to the VSCode and paste the video ID (HcZKQCeurDs).
- Now, go to this link: https://gohugo.io/content-management/shortcodes/#example-youtube-input, and copy the YouTube shortcode. You can also read more about the configuration of this shortcode from this link, but for now, let us just add the video.

- Return to the VSCode and past the shortcode right below the ID.

- Replace the ID in the shortcode with the one we copied earlier.

- Save changes (Ctrl + S) and go to the browser. The video should be displayed.
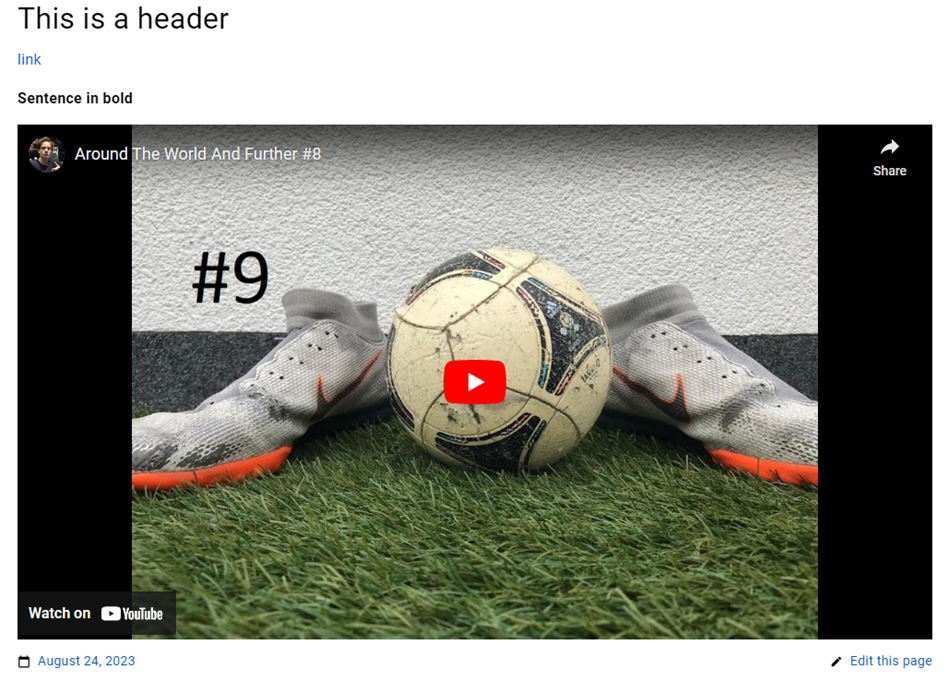
Figure 33. Undoubtedly beautiful. After you have done so much work, other people should see what you have accomplished! So, let’s publish our changes on the actual website visible on the Internet following this guide.
Prospects for the future
This guide was a tough and long journey and I’m glad you made it thorough! Of course, you can come back to it at any point to refresh your memory. After all, there was so much knowledge presented. You may not realize it, but you learned all the necessary skills to create your own Hugo website – for instance, as a CAS portfolio – with “hugo new” or your own theme.
As supplementary information, I wanted to shine a spotlight on some more tutorials where you acquire new knowledge that goes beyond this article and supplementary ones. Here’s the list:
· Introduction to Hugo: a brilliant YouTube tutorial explaining Hugo in more depth
· Git and GitHub for beginners – Crash Course: a coherent and comprehensive YouTube git tutorial
· Visual Studio Code Crash Course: a manageable VSCode overview
· Google Summer of Code: tutorials on open source and open source projects to participate in.
You may also like…
- Alisa’s tips for physics IA
- Avril’s list of resources for biology